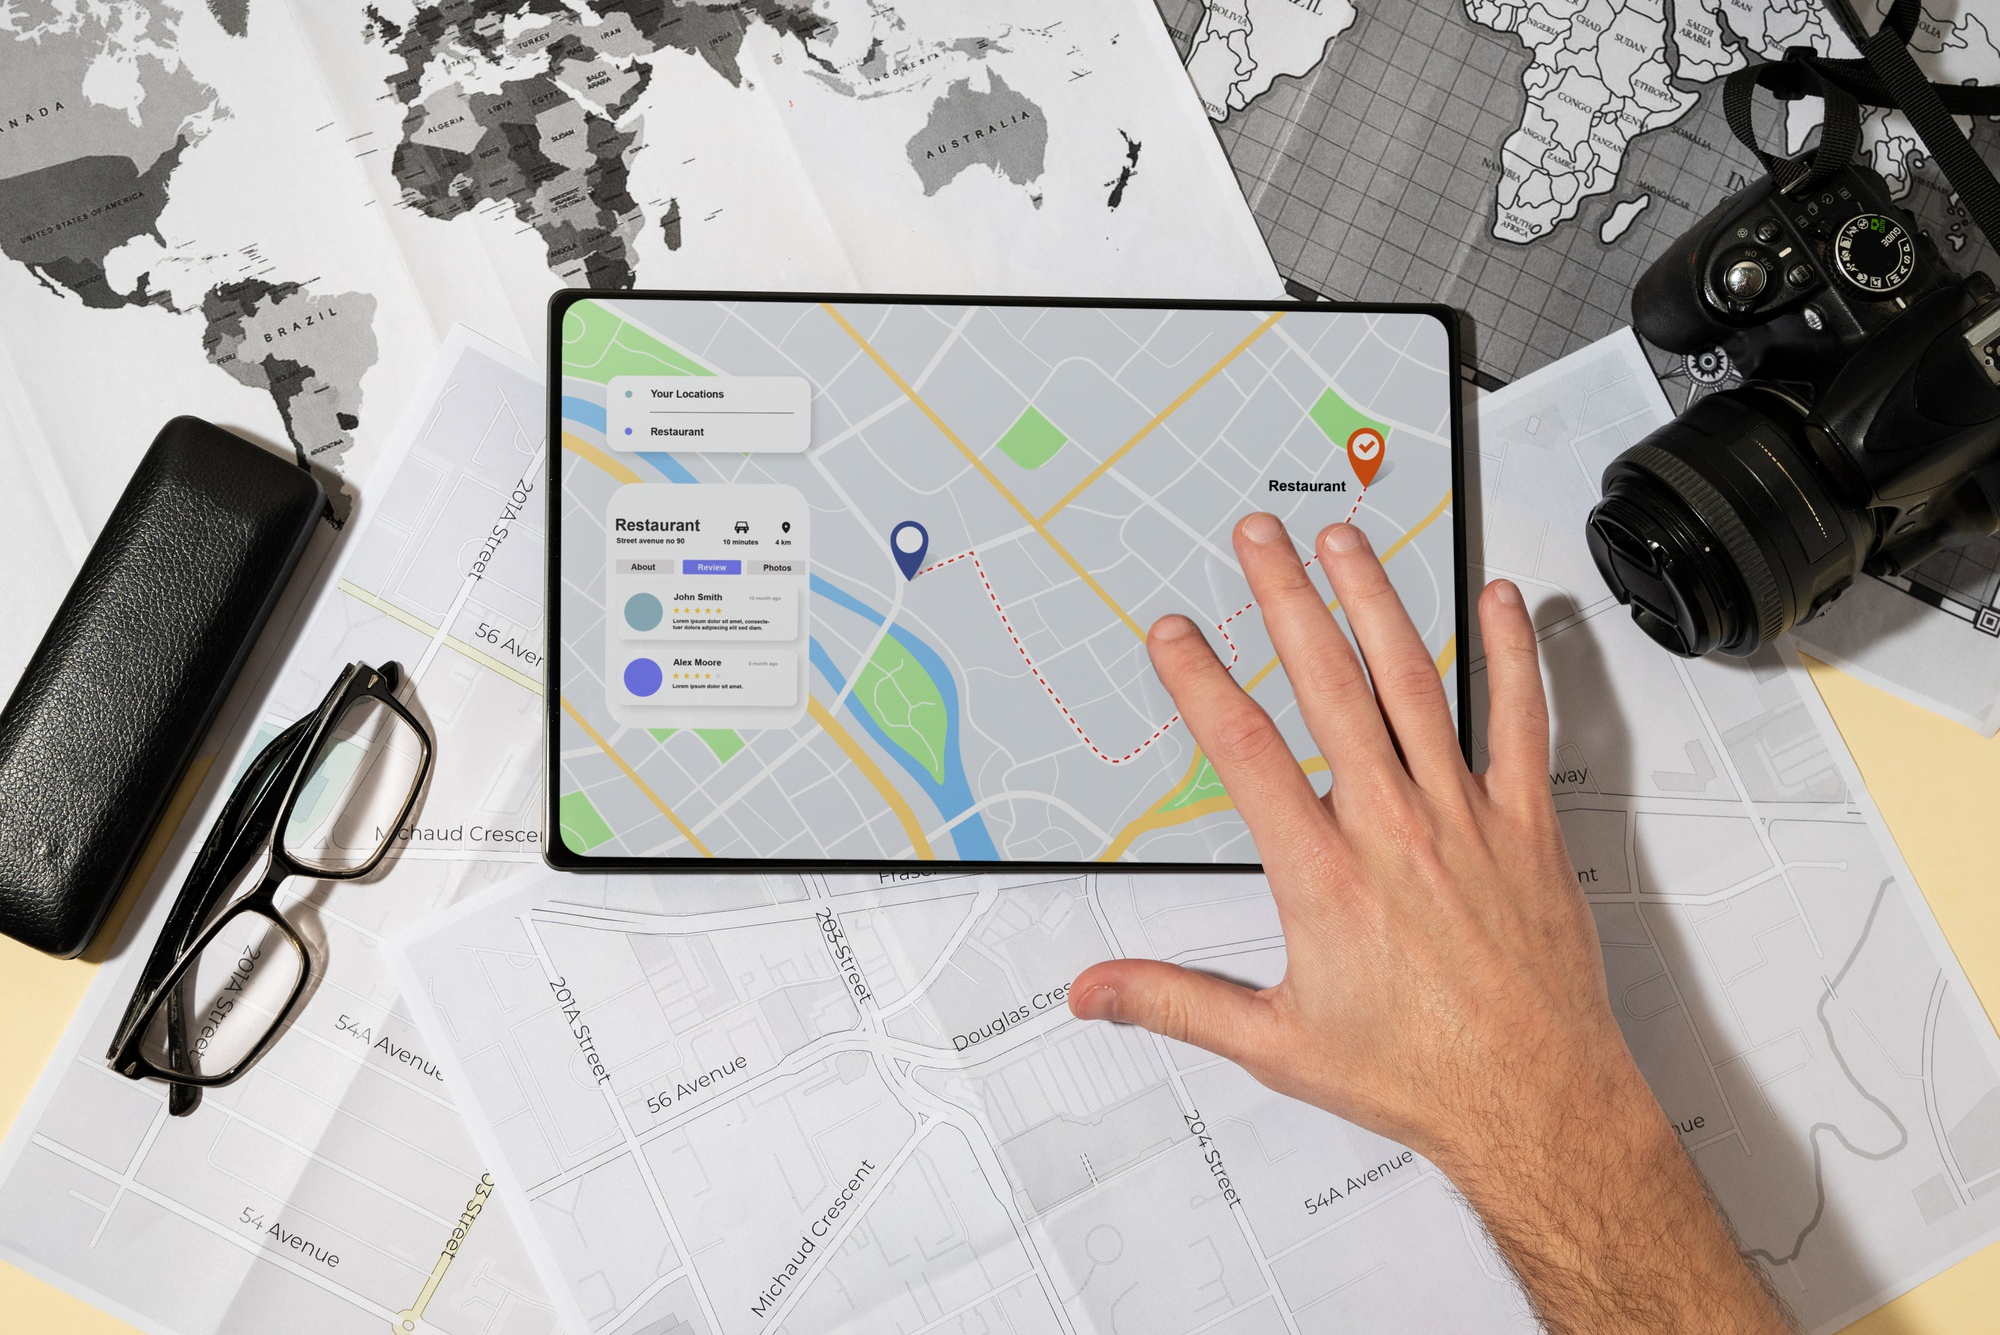
Maps are an integral part of many web and mobile applications, providing users with valuable location-based information. Google Maps is a popular choice for incorporating maps into your React applications due to its robust feature set and flexibility. One of the key aspects of making your maps stand out is customizing their styling to match your application’s design and user experience. In this blog post, we will explore how to customize Google Maps styling in React applications.
Why Customize Map Styling?
Customizing map styling allows you to:
- Maintain Brand Consistency: Match the map’s appearance with your application’s overall design and branding.
- Highlight Key Information: Emphasize important map elements, such as markers and labels, to guide users effectively.
- Improve User Experience: Create visually appealing maps that are easy to read and navigate.
- Adapt to Dark Mode: Adjust map colors for different themes like light and dark modes.
Now, let’s dive into the steps to achieve these customizations in a React application.
Step 1: Create a React Application
If you don’t already have a React application set up, you can create one using Create React App:
npx create-react-app map-styling-app
cd map-styling-app
Step 2: Obtain a Google Maps API Key
To use Google Maps in your React application, you’ll need a Google Maps API key. Follow the steps in the Google Maps JavaScript API documentation to obtain your API key.
Step 3: Install Dependencies
Install the necessary packages for using Google Maps in your React application:
npm install google-maps-react
Step 4: Create a Map Component
Now, let’s create a React component that renders the customized Google Map. Create a file named CustomizedMap.js in your src folder:
// src/CustomizedMap.js

import React, { Component } from 'react';
import { Map, GoogleApiWrapper } from 'google-maps-react';

class CustomizedMap extends Component {
  render() {
    const mapStyles = {
      width: '100%',
      height: '100%',
    };

    return (
      <Map
        google={this.props.google}
        zoom={14}
        style={mapStyles}
        initialCenter={{ lat: 37.7749, lng: -122.4194 }}
      >
        {/* Add map markers and other components here */}
      </Map>
    );
  }
}

export default GoogleApiWrapper({
  apiKey: process.env.REACT_APP_GOOGLE_MAPS_API_KEY,
})(CustomizedMap);
In this component, we import the required modules, create a CustomizedMap class that extends Component, and render a basic Google Map. Notice that we use the API key from your environment variables for authentication.
Step 5: Customize Map Styling
Google Maps provides a wide range of styling options. You can customize the map’s appearance by specifying an array of style rules. Add the following code to your CustomizedMap component:
// src/CustomizedMap.js

// ...

class CustomizedMap extends Component {
  // ...

  render() {
    const mapStyles = {
      width: '100%',
      height: '100%',
    };

    const customMapStyles = [
      {
        featureType: 'water',
        elementType: 'geometry.fill',
        stylers: [{ color: '#cde2e8' }],
      },
      {
        featureType: 'landscape',
        elementType: 'geometry.fill',
        stylers: [{ color: '#f3f3f3' }],
      },
      // Add more styling rules here
    ];

    return (
      <Map
        google={this.props.google}
        zoom={14}
        style={mapStyles}
        initialCenter={{ lat: 37.7749, lng: -122.4194 }}
        styles={customMapStyles}
      >
        {/* Add map markers and other components here */}
      </Map>
    );
  }
}

// ...
In this example, we’ve defined a customMapStyles array containing styling rules for water and landscape features. You can add more rules to further customize the map’s appearance. Refer to the Google Maps JavaScript API Styling Documentation for a comprehensive list of styling options.
Step 6: Use the Customized Map
Now, you can use the CustomizedMap component in your main application. Open src/App.js and import and render the CustomizedMap component:
// src/App.js

import React from 'react';
import './App.css';
import CustomizedMap from './CustomizedMap';

function App() {
  return (
    <div className="App">
      <header className="App-header">
        <h1>Customizing Google Maps in React</h1>
      </header>
      <main>
        <CustomizedMap />
      </main>
    </div>
  );
}

export default App;
Conclusion
Customizing Google Maps styling in your React applications allows you to create maps that align with your application’s design, branding, and user experience. By following the steps outlined in this blog post, you can easily integrate a customized Google Map into your React project and enhance your users’ interaction with location-based information. Experiment with different styling options to achieve the desired look and feel for your maps, making them both functional and visually appealing. Happy mapping!
If you have any questions or need further assistance, please don’t hesitate to contact us for more details. We’re here to support your React development journey.
The React Company is your one-stop destination for all things related to React. Whether you’re just starting your journey in React development or you’re a seasoned developer seeking solutions to intricate challenges, our platform is designed to cater to your needs.


